
Growing Food from Seed
Our seed starting system.
If you subscribe after the last essay, you might be confused why your now reading an essay on starting seeds. What’s this blog about anyway? Spirituality or homesteading? Both! Heaven and Earth - refer to the first essay if you’d like more background!
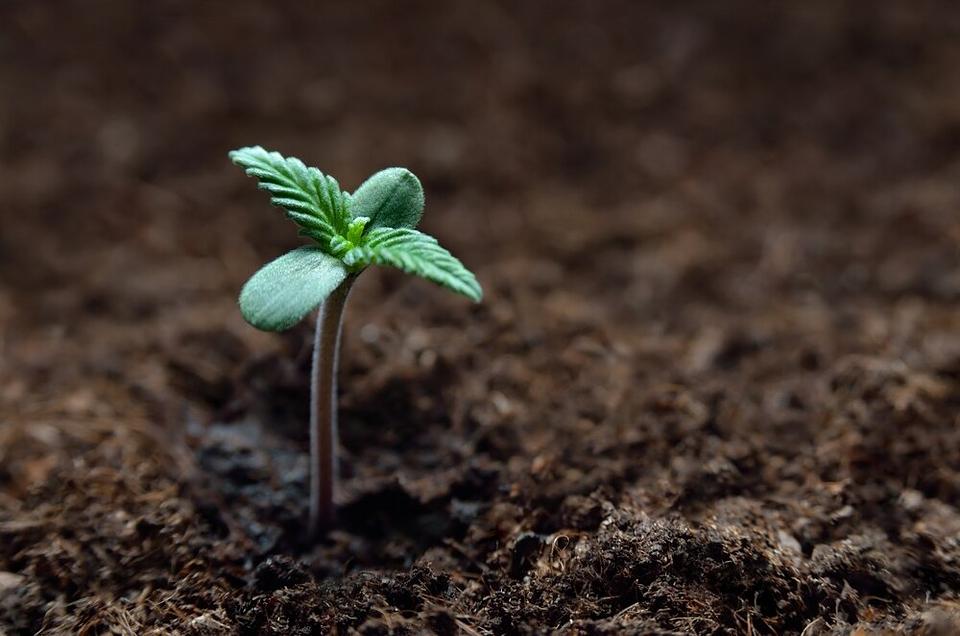
Last weekend we started our first batch of seeds! Starting seeds is always a hopeful harbinger of spring.
Indeed growing food from seed is an important milestone for every homesteader. Not only can growing vegetables from seed save you a lot of money as you scale up your garden, but it also brings you very close to a self-sufficient (and therefore resilient) food production cycle. A good seed-starting skillset matched with a seed-saving skillset can bring your food production completely in-house!
That said, I wanted to summarize the setup we’ve arrived at for our own seed-starting on our homestead. As mentioned in the last Earth essay on compost, these things can be very context-dependent, hopefully some of you find our set up helpful for your context!
Step 1: Planting Calendar
The first question to ask is what plants? Certain plants do better when “direct sown”, meaning seeded outdoors after the danger of frost has passed (mid-April where I am), and others are best started indoors earlier and transplanted outdoors after frost danger. For example, spinach, peas and carrots are best direct-sown. And tomatoes, bell peppers, cabbage and broccoli are good plants to start indoors. This post is referring to the latter type of plants.
After the list of plants that need to be started indoors is determined, we need to know when to seed them. For both what to plant indoors and when, I’ve found the almanac.com planting calendar tool to be indispensable. You simply put in your zip code and it uses your location to calculate your average last frost date and gives you planting dates for almost every annual vegetable. If “N/A” is present in the “Start Seeds Indoors” column, that means it is best direct sown, and it gives you a date for that as well!
Step 2: Seed-Mix Soil
While I have never personally tried starting seeds with compost or normal potting mix, what I have read has informed me that it would not go very well. Seeds require a specific set of nutrients and composition to ensure effective germination. (Germination is a fancy word for when the seeds sprout!) Most compost you buy or make is also likely not screened down small enough and would include clumps or material that might block germination.
We started out buying seed starting mix. We used a product by Tilth Soil in Ohio that worked wonderfully for us. It is priced decently, but the shipping costs do bump it up a good bit. If anyone is aware of good seed mix produced locally, please let me know!
In part, because of the price of seed-mix, I experimented last spring with making my own seed mix with some purchased bulk materials and my own vermicompost. If you haven’t read the last Earth essay, vermicompost is compost or organic material that has been fed to worms to be broken down even further. It’s essentially worm poop! And it makes wonderful soil. In the future, I can do a full essay on my vermicompost set up if folks are interested. For the purposes of this essay, normal compost - either bought or made! - can be substituted for vermicompost. The key is in sifting it down, which we will cover in this post.
This homemade seed mix wasn’t quite as successful at germination as Tilth’s great product, but it was cheaper and didn’t require much labor input at all, making the tradeoff worth it in my eyes.
The ingredients for my homemade seed mix are as follows:
5 gallons of vermicompost (sifted)
5 gallons of store-bought peat moss (sifted)
Peat moss is unmatched in its moisture retaining ability. Which is critical for seed germination.
1/4 Cup of Garden Lime
Peat moss is great but its too acidic for most seeds (a pH between 3.0 and 4.5 - fantastic potting mix for blueberries I’ve learned!). The garden lime is extremely basic and helps balance the pH of the seed mix.
3-4 Gallons of Perlite
Perlite is vital for soil aeration (getting oxygen into the soil) and drainage (ensuring it doesn’t get too water logged)
1 cup of kelp meal fertilizer
I mix these ingredients together using a 5 gallon bucket (hence the 5 gallon measurements at the beginning) and a shovel inside of wheel barrel.
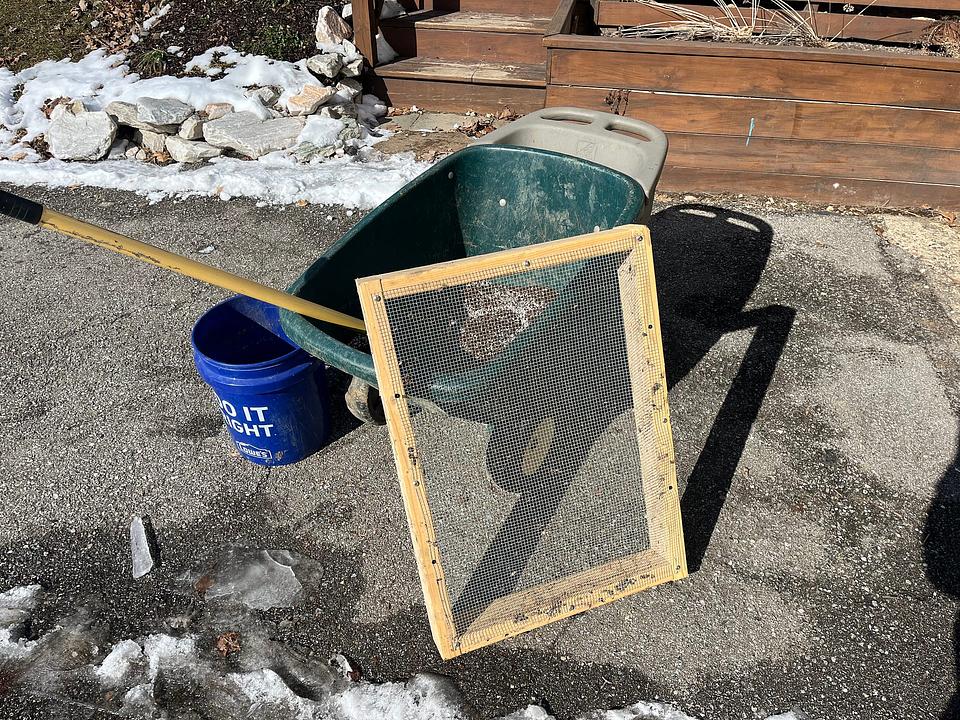
The framed hardware cloth in the picture is for sifting the vermicompost and peat moss. A fine soil composition is very important for germination success.
The screen is quarter-inch hardware cloth. And I just attached it to a simple frame that fit roughly the size of my wheel barrow. That way, I can just place it on top of the wheel barrow and pour my 5 gallons of vermicompost or peat moss right on top like this:
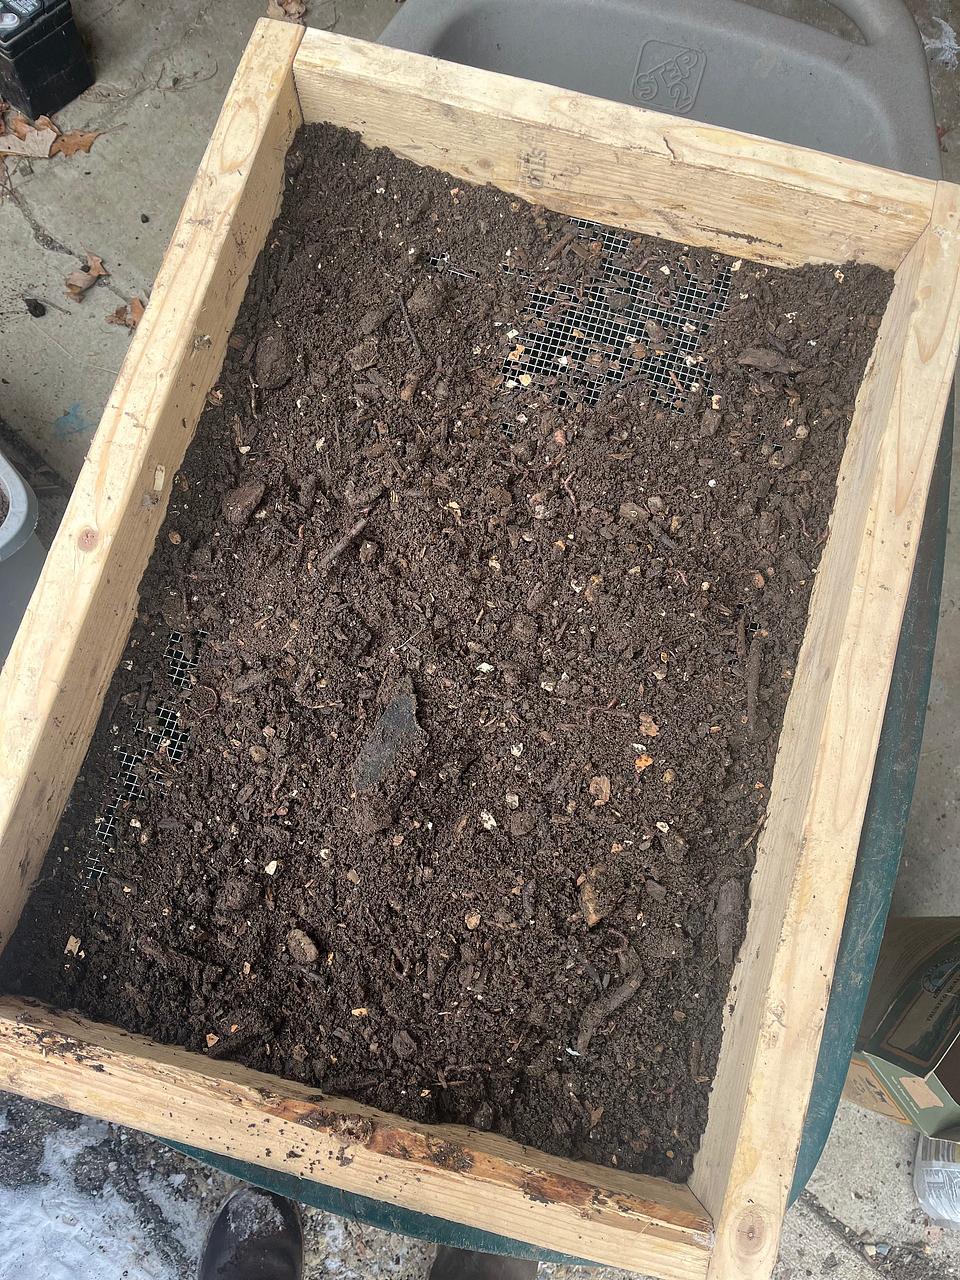
As you can see, there are rocks and large chunks of wood present in the soil that the worms were not able to break down. It’s these items we don’t want making our way into our mix. I use my hands to sift the soil through the screen and toss whatever is left in our strawberry patch as mulch.
The result of all of this a fine, highly nutritious soil mix for our seeds!
Step 3: Soil Blocks
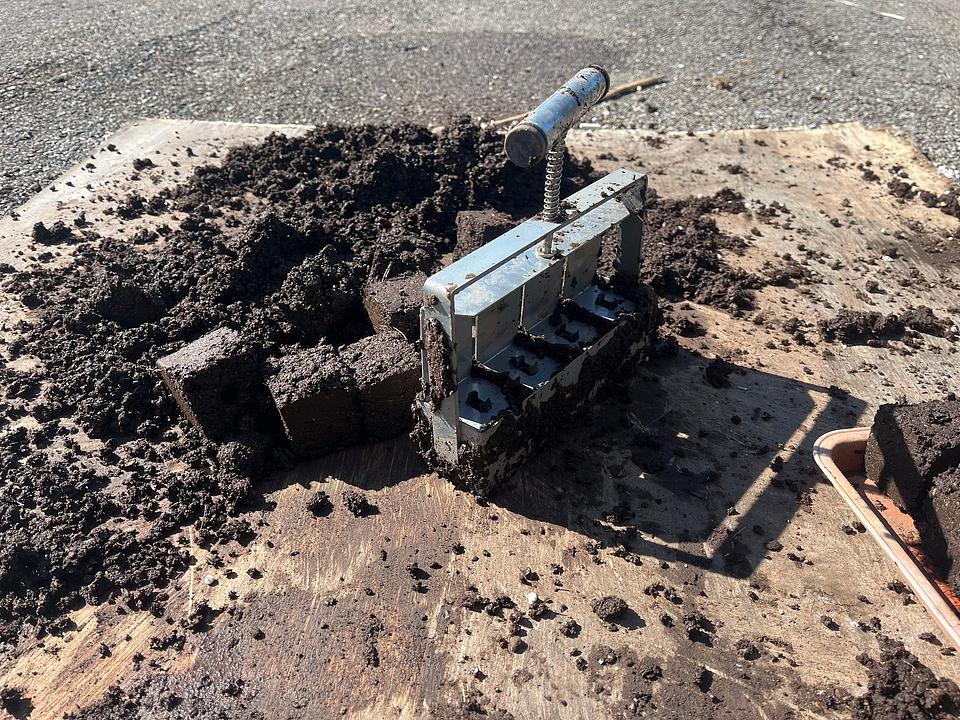
We’ve opted to using soil blocks over cell trays and I highly recommend it!
A soil block is a compressed block of soil (shocking I know), which you can make with a soil blocker. The process is pretty straightforward but here is a good tutorial video.
Soil blocks have many advantages over cell trays. Perhaps the largest advantage is the air-pruning of roots. Seedlings can easily become root-bound inside of a cell tray. With soil blocks, when a plants roots reach the air, they automatically prune themselves instead of getting root bound. However, because I don’t place the blocks on open air trays (I use these trays), seedlings becoming root-bound is still a possibility, but much less likely. I think the advantage of having the trays hold water (so I only need to water once a day) beats the advantage of complete air-pruning on the bottom of the block with an open-air tray (which is the expert recommendation).
In general, soil blocks foster much stronger, resilient seedlings, that experience less transplant shock when moved into the garden. I recommend placing at least 3-4 seeds per block (and even more for smaller seeds like celery). Seeds are pretty cheap but space under grow lights (covered in the next step) is less cheap, so its important we get as many successful germinations across blocks as possible. If I get 4 successful germinations in 1 block and 0 in another, you can actually move one of the extra seedlings into one of the vacant blocks. Sometimes the young seedling takes to the new home, other times, it does not.
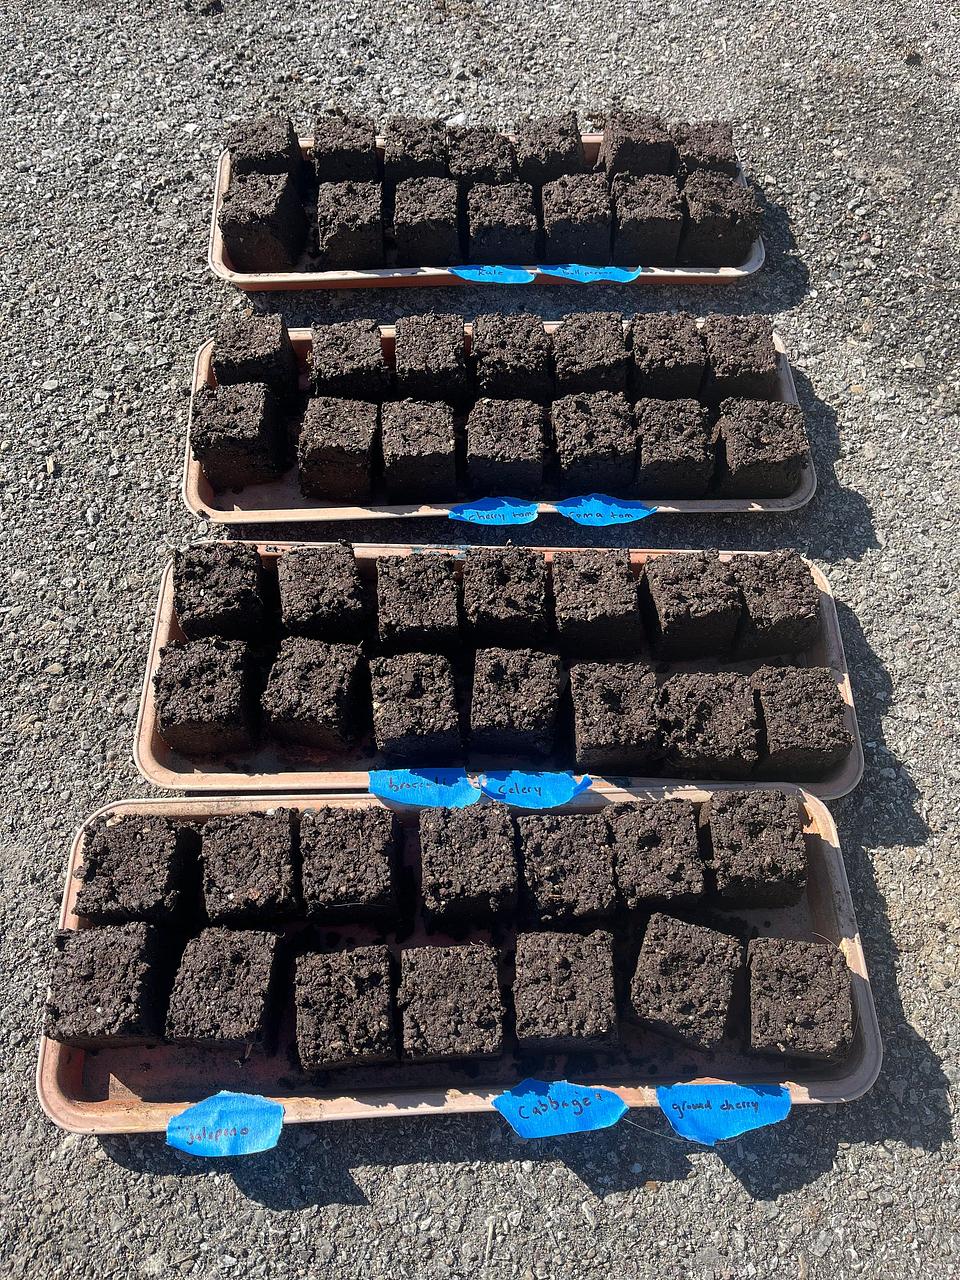
Above is the finished product of our first round of seedlings! I use tape to mark which seedlings are what.
Step 4: Poor-boy Greenhouse
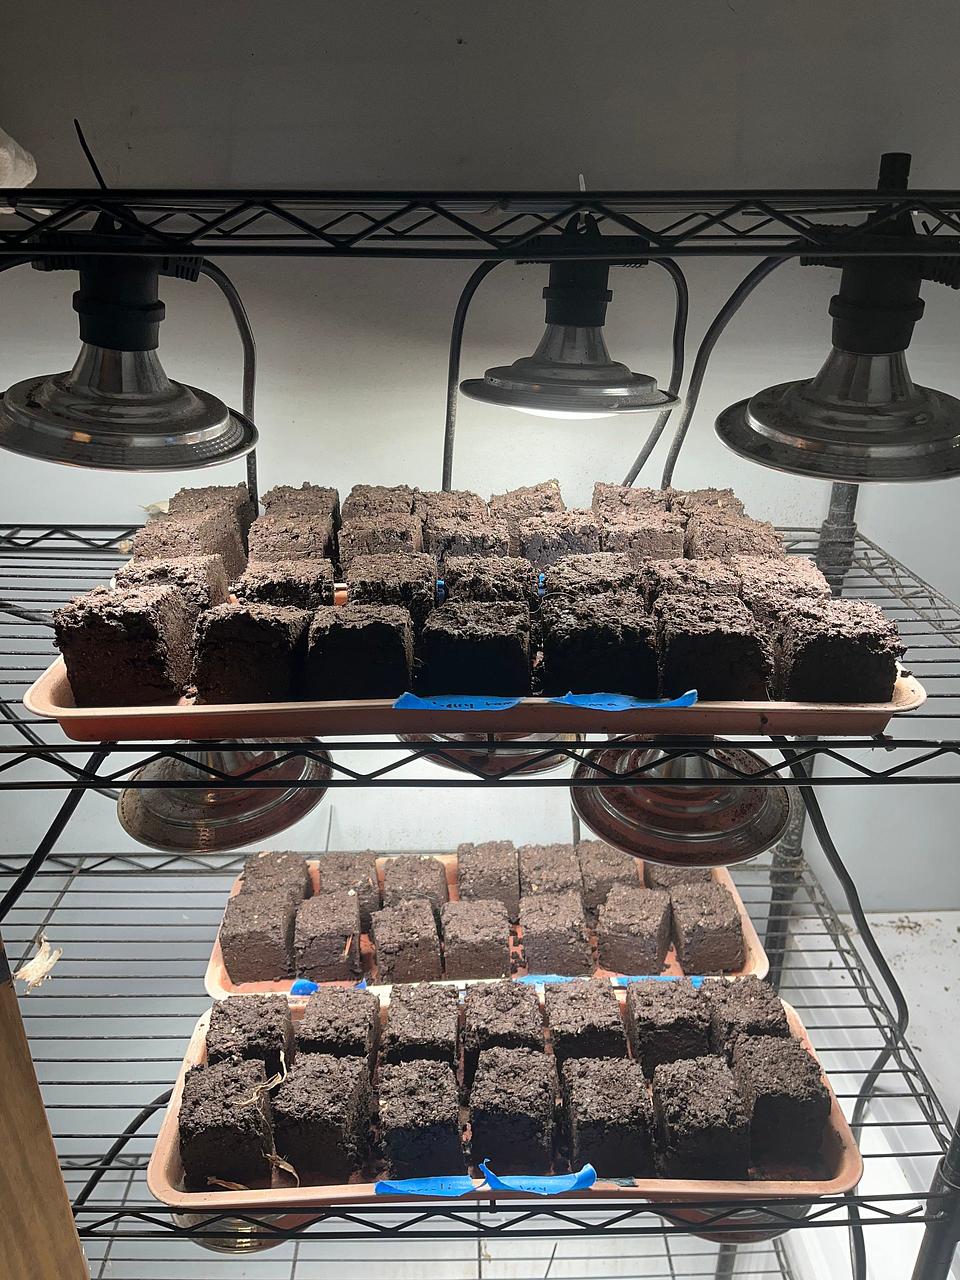
We do not have a greenhouse (yet!) so we start our seedlings under grow lights in an unused half bath in our basement. My wife jokes that people are going to think we are growing weed in there.
We keep a space heater in there at temperature in the mid to high 70s. The set up you see in the picture above works pretty well! Do not attempt to just hang the grow lights from the ceiling. The seedlings will get very leggy (this is when the seedling puts all of its energy in adding height in search for good light and begins to be unable to support itself.) Some kind of shelving unit to fasten the grow lights on is necessary. Let me make that mistake for you!
I water these soil blocks, once every day, until they are ready to be moved out into the garden. I pour roughly 16oz of water (a water bottle) over the top of the blocks for each tray.
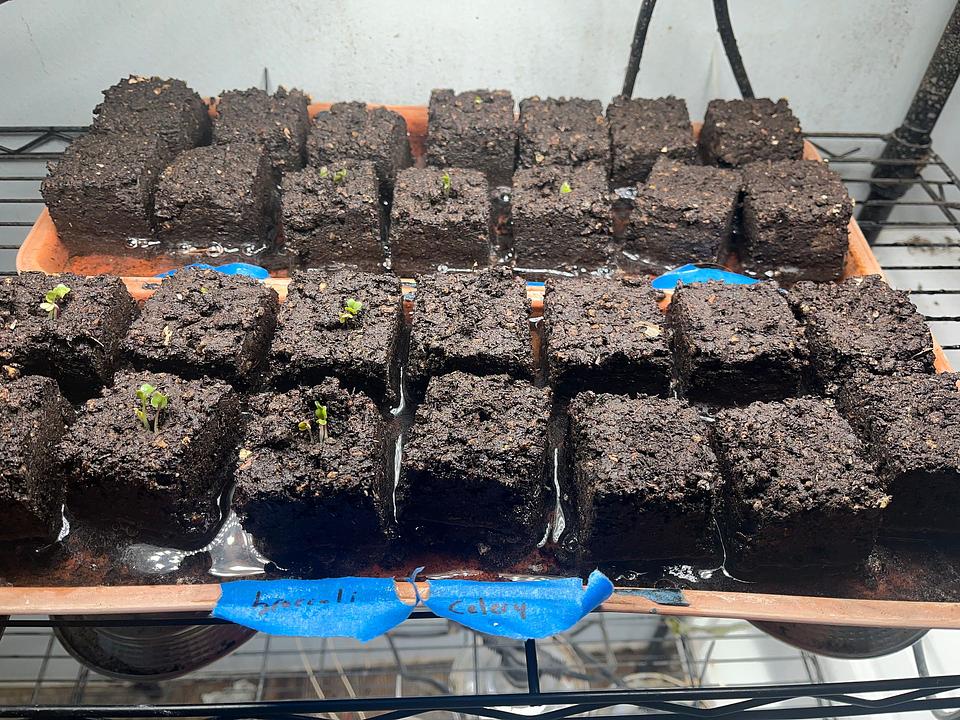
The trays were just watered in the pic above for context. You can see some broccoli and other plants poking through already!
Refer back to the planting calendar, for the appropriate transplant dates for each plant. When you get within 2 weeks of the transplant date, it’s good to start moving the seedlings outside during the day - not at night. This process is called “hardening off” and it helps reduce transplant shock for the seedlings. Only put them outside if temperatures are consistently above 40 degrees.
And that sums up our seed-starting process. Hopefully, you found some of it helpful! If you are reading this where I am in Indiana - or somewhere further north - you might find that you are a handful of days behind on the planting calendar. Don’t let that stop you from starting some seeds. A week or two behind, even a month or two behind, is not an issue for a plant. I promise you they will catch right back up in May and June. Just adjust the transplant date back however many days behind you are on the seeding date.
Go start some seeds and experience the joy of growing your own food from seed!